
Hey everyone 👋🏻, In this article, let us understand the Tamper Resistant Nature ...
In this video, we will understand how Node.js works and then we will understand ...

Hey guys 👋🏻,In this article, let us cover the topic of How to use Refs in ...

Hey guys 👋🏻, In this article, let us understand about Security and ...
In this video, we will learn about the Events Core Module in Node.js and then we ...
In this video, we will learn about the trees data structures and then we will ...
In this video, we will understand the Node.js Architecture namely the ...
Hey guys 👋🏻, In this post, let us talk about Virtual DOM in React.js. For this ...
Hey guys 👋🏻, I just released a new video on solving an interview problem : ...
Hey everyone, In this article, let us see 8 React Projects Every Beginner Should ...

Hey everyone 👋🏻, In this article, let us understand the Tamper Resistant Nature of a Blockchain. This is the third part of my Blockchain ...
In this video, we will understand how Node.js works and then we will understand the difference between the blocking and non-blocking ...
Hey guys 👋🏻,In this article, let us cover the topic of How to use Refs in React.js Let us investigate why React.js, a library that keeps ...

Hey guys 👋🏻, In this article, let us understand about Security and Authentication in MongoDB. We will understand the security aspect from ...
In this video, we will learn about the Events Core Module in Node.js and then we will also understand the Event Emitter class of Node.js and ...
In this video, we will learn about the trees data structures and then we will start to learn about the binary tree data structures and some ...
Hey guys 👋🏻,In this article, let us cover the topic of How to use Refs in React.js Let us ...
Hey guys 👋🏻, In this post, let us talk about Virtual DOM in React.js. For this post we will ...

Hey guys 👋🏻, I just released a new video on solving an interview problem : Checking for Children Sum ...

Hey everyone, In this article, let us see 8 React Projects Every Beginner Should Try. Introduction ...
Hey guys 👋🏻, In this post, let us cover what actually are props in React.js For this post we will ...
Hey everyone 👋🏻, In this article, let us discuss about Top 5 Frontend Development Trends to follow ...
Hey guys 👋🏻,In this article, let us cover the topic of How to use Refs in React.js Let us ...
Hey guys 👋🏻, In this post, let us talk about Virtual DOM in React.js. For this post we will ...
Hey everyone, In this article, let us see 8 React Projects Every Beginner Should Try. Introduction ...
Hey guys 👋🏻, In this post, let us cover what actually are props in React.js For this post we will ...
Hey guys 👋🏻, In this post, let us learn what JSX is in React and why it is important for us as React ...
Hey everyone ??, In this article, let us learn about one of the most important concepts that you as ...
In this video, we will understand how Node.js works and then we will understand the difference ...
In this video, we will learn about the Events Core Module in Node.js and then we will also ...
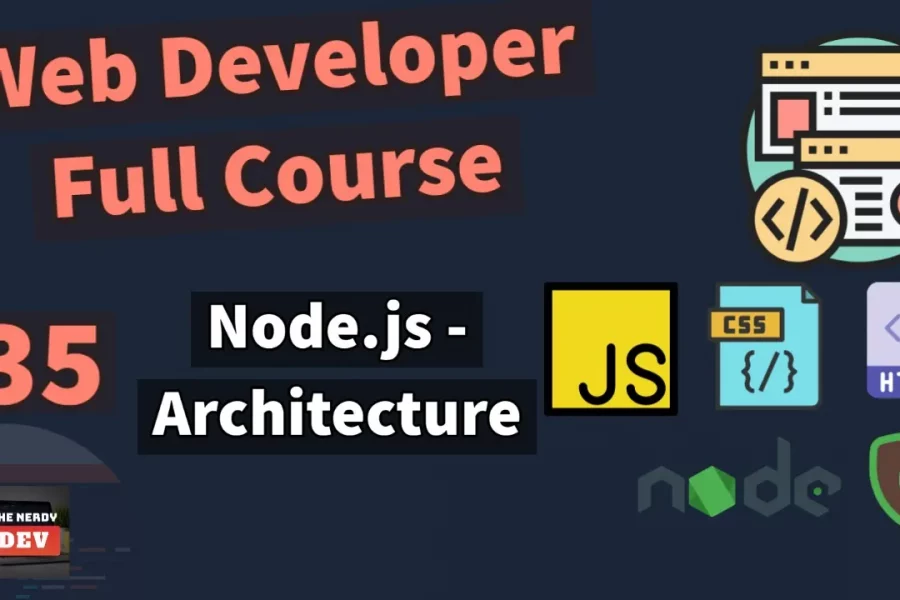
In this video, we will understand the Node.js Architecture namely the Application, V8 ...
I recently started to create a Full Web Developer Course on my YouTube Channel and recently finished ...
Hey everyone 👋🏻, In this article, let us learn about more about REST APIs. This is the second ...
Hey everyone 👋🏻, In this article, let us learn about how we can render dynamic content to the client ...